Today I want to share with you something new within this blog – Microsoft Bot Framework.
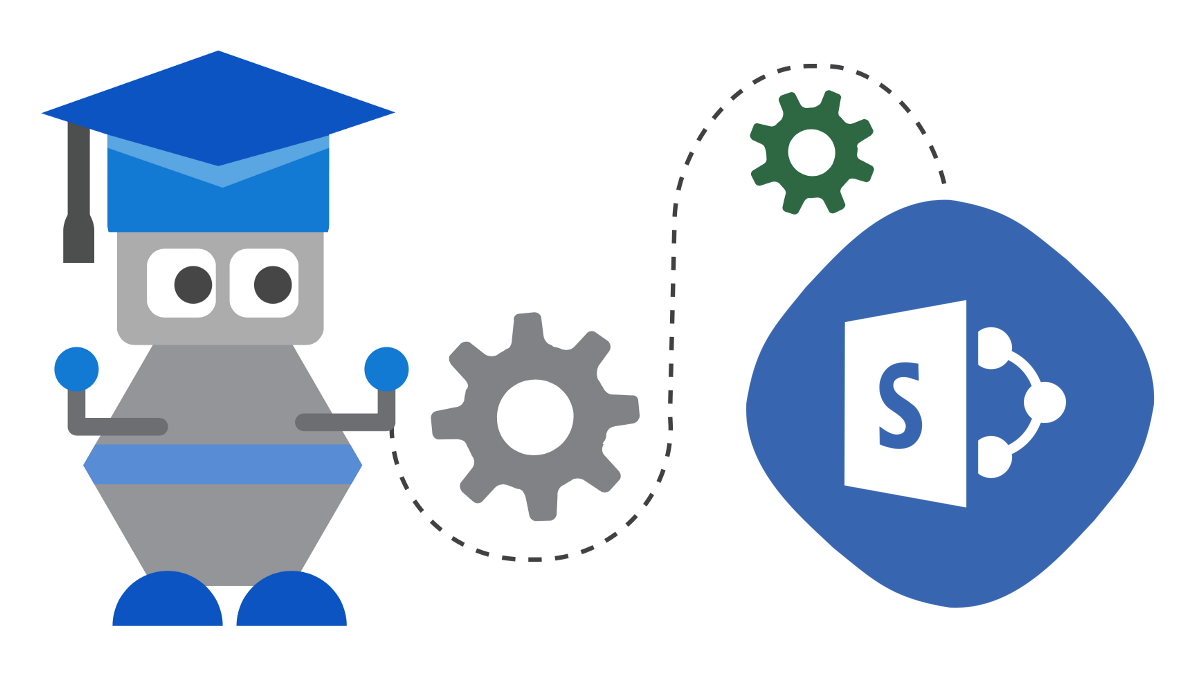
And because I love SharePoint and I work with it for a while, SharePoint Framework (SPFx)and MS Bot Framework is my way to start this journey.
As anything in this world is mandatory to begin with starting point. And here we are – how we could start using Microsoft Bot Framework inside of our SharePoint Framework (SPFx) and create HelloWorld-like example in Bot Framework?
So, lets start this jurney.
Create Echo Bot in JavaScript
First of all, we have to create a bot with the Bot Builder SDK for JavaScript. Here you have tutorial how you could do this.
If you are SharePoint Framework developer you know what is Node.js, NPM etc. So you could skip this first steps and start with installation of Yeoman generator for Bots in JavaScript:
npm install -g yo generator-botbuilderAfter that you could create new folder and inside of it you could call previously installed yeoman generator botbuilder:
yo botbuilderAfter that you have to specify name, description, language and template, which you want to use it. Please choose JavaScript language and Echo template.
That is simple Echo Bot within JavaScript environment, so you could use it / run it with next command:
npm startYou could test it with Bot Framework Emulator. Here you could get it to install.
Start Bot Framework Emulator and click Open Bot link in the emulator and select .bot file located in the directory where you created the project above.
Create SPFx Web Part
Now you could create new SPFx Web Part with yeoman generator:
yo @microsoft/sharepointI named it SpFxBotStarterWebPart.
After that you have to install two additional NPM packages which are Bot Framework related:
npm install --save botframework-webchat
npm install --save botframework-directlinejs
You have to include context in your SPFx Web Part so you need to add it as component property:
import { WebPartContext } from "@microsoft/sp-webpart-base";

export interface ISpFxBotStarterProps {
  description: string;
  context: WebPartContext;
}
After that you could pass it from webpart to component in that way:
public render(): void {
    const element: React.ReactElement<ISpFxBotStarterProps> = React.createElement(
      SpFxBotStarter,
      {
        description: this.properties.description,
        context: this.context
      }
    );

    ReactDom.render(element, this.domElement);
  }
Inside of your React component you have to import next things:
import { Chat } from 'botframework-webchat';
import { DirectLine } from 'botframework-directlinejs';
require('../../../../node_modules/botframework-webchat/botchat.css');
Than create variable inside of class SpFxBotStarter (React Component) for direct line secret key which you will get it from Azure a lil’bit later:
private directLine_Secret = "# ENTER AZURE BOT FRAMEWORK DIRECTLINE KEY HERE #";Then add this lines of codes into your render() method:
public render(): React.ReactElement<ISpFxBotStarterProps> {

    //Registering to Direct Line to communicate with BOT
    var botConnection = new DirectLine({
      secret: this.directLine_Secret
    });

    //Current User information from Context
    var user = { id: this.props.context.pageContext.user.email, name: this.props.context.pageContext.user.displayName };

    //Sending BOT "event" type dialog with user basic information for greeting.
    botConnection.postActivity({ type: "event", name: "sendUserInfo", value: this.props.context.pageContext.user.displayName, from: user }).subscribe(id => console.log("success", id));

    //Subscribing for activities created by BOT
    var act: any = botConnection.activity$;
    act.subscribe(
      a => {
        if (a.type == "event" && a.name == "search") {
          botConnection
          .postActivity({ type: "message", text: "showresults", value: [], from: user })
          .subscribe(id => { console.log("success", id) });
        }
      }
    );

    return (
      <div className={styles.spFxBotStarter} style={{ height: 700 }}>
        <Chat botConnection={botConnection} adaptiveCardsHostConfig={null} directLine={{ secret: this.directLine_Secret }} bot={{ id: 'botid' }} user={user} />
      </div>
    );
  }
As you could see in code above we have to register to Direct Line to communicate with BOT. After that we post activity – we send user info. And after that we subscribe for activities created by BOT. Last one are render template for our Bot SPFx Web Part with Chat component.
Register Bot Service in Azure Portal
After that we could register new Bot Service in Azure Portal. I named it SPFxBotStarter.
Please choose Bot Channels Registration

After that you could go to your newly create Bot Service and inside Channels Bot management you could Configure Direct Line channel.

Copy your Secret key into your SPFx variable named directLine_Secret created before.

Install ngrok and use it
After that you could go to that page to copy ngrok.exe app to your computer because then you will have to run it from CMD.
Open CMD and use this command:
ngrok http 3978 -host-header="localhost:3978"If all is OK you will get forwarding URLs like https://xxxxxxxx.ngrok.io.

Use https url and copy it into your Bot Service Settings panel inside of Messaging endpoint configuration property with /api/messages suffix:

After that run your Bot with that command:
npm startAnd run your SPFx Web Part with that command:
gulp serveAfter that you could finally add your newly created SPFx Web Part into SharePoint Workbench page and test it (be sure that your ngrok still running).
