In my previous article I wrote about connecting to and managing Exchange Online. In this article, I will finally write about my specialty – SharePoint and SharePoint Online. As usual, SharePoint is a bit of a story of its own when it comes to Office and Server products.
Because SharePoint has such a strong community, this has also shown to be a major driving force behind the development of SharePoint Online and, in a way, has also directed the course of development to the Microsoft development team behind SharePoint Online.
SharePoint Online – Official
To manage SharePoint Online, we have 2 options. The first one is the official version, developed by Microsoft, while the other one was made by Erwin van Hunen and has gained so much reputation, that Erwin’s code is now signed with a Microsoft certificate.
Installing Components
In order to start using the SharePoint Online Management Shell, we must first download the installation files to our computer. They can be found at the following address:
Download SharePoint Online Management Shell from Official Microsoft Download Center
https://www.microsoft.com/en-us/download/details.aspx?id=35588
After installation, a new module is available in PowerShell. If we run:
Get-ModuleWe get the following list, where “Microsoft.Online.SharePoint.PowerShell” is the name of the module with commands for SPO.
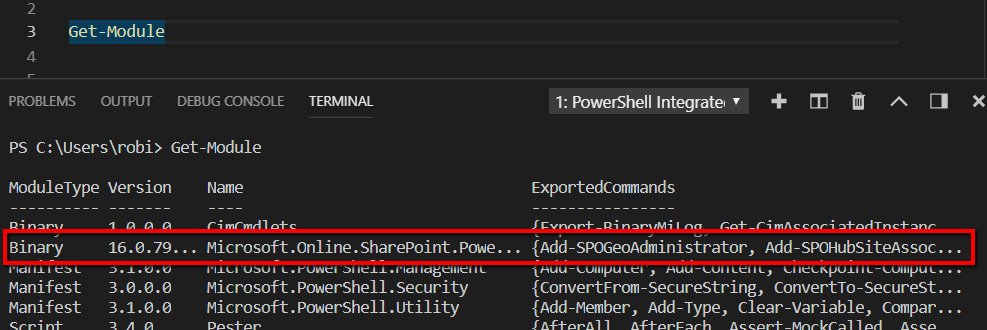
The official PowerShell module offers us 144 commands in the latest version, which is really not a lot, given the complexity of SharePoint Online.
Connecting to SharePoint Online
After successfully installing components, we must connect to our SPO environment. To connect to cloud services, we need to open PowerShell and run the following command:
Connect-SPOService -Url https://[tenant name]-admin.sharepoint.comTo check if we have successfully connected to the tenant, we can run the following command:
Get-SPOSiteThis lists all site collections.
PnP SharePoint Online Management Shell
As previously mentioned, the SharePoint community is very strong and connected. As such, it is a strong influence on SharePoint and SharePoint Online development. This gave birth to the SharePointPnPPowerShell module, which is officially supported by Microsoft.
Installation
To install the PnP PowerShell, a PowerShell window with administrator privileges must be running. We then run the following command:
Install-Module SharePointPnPPowerShellOnlineFun fact: there are also PnP modules for SharePoint 2013 and SharePoint 2016 On-Premises.
After the installation, you can run:
Get-Command -Module SharePointPnPPowerShellOnline).countThe number 348 will show up, which means there are almost 3 times as many commands than in the official Microsoft module.
Connecting
To connect to SPO with the PnP module, we must run:
Connect-PnPOnline -Url https://[tenant].sharepoint.com/sites/robi/ -UseWebLoginNote that the “UseWebLogin” parameter of this command supports MFA.
Using the PnP script to migrate content
Use of the PnP module for SharePoint is really simple. Even if you migrate your common folders to SharePoint Online, the PnP PowerShell can come in handy as you can easily load files into a document library.
After successfully connecting to a site with the command mentioned above, we can run:
Get-PnPListWhich retrieves all lists from this site. From this extract, we can select the list to which we want to load files and save it as a variable:
$docLib=Get-PnPList -Identity "Shared documents"The next step is to prepare all the files we want to load to the selected library. In my case, I have a couple of files at C:\temp.
We can use the following command to save all files at this location into a variable:
$items=Get-ChildItem -Path “C:\temp\” |?{$_.extension -ne “.ps1”}
After that, we just need to create a loop, that will load all documents from this library into the cloud. For migrating files, we will use the Add-PnPFile command, that requires just 2 parameters:
- The path to the file we wish to upload.
- The document library we will use to save files.
The command is as follows:
foreach($item in $items){
    Add-PnPFile -Path $item.fullname -Folder $docLib.RootFolder.Name
}
In this command, we saw the importance of community in the development of SharePoint Online and what can easily be done by using PnP scripts. In the next article, we will take a look at how to safely store passwords for scheduled scripts.
Don’t miss the next article from my Office 365 PowerShell series!